The Top DSM Community on the Web
For 1990-1999 Mitsubishi Eclipse, Eagle Talon, Plymouth Laser, and Galant VR-4 Owners. Log in to remove most ads.

techboy
5+ Year Contributor
- Joined
- Last seen
- Posts
- 541
- Reaction score
- 436
Latest activityPostingsVehiclesAbout
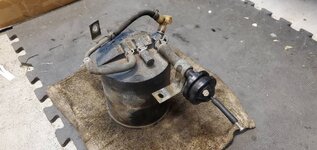
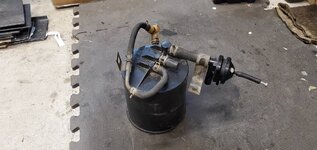
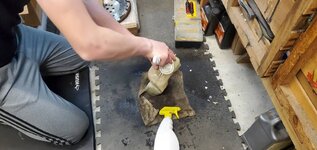
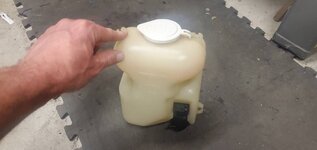
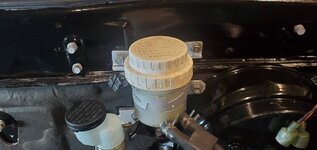
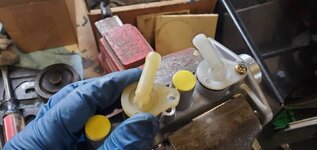
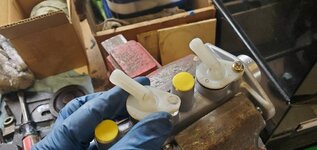
 techboy replied to the thread Galant VR-4 Restoration #129/1458.Last night spent more time cleaning up brackets, painting, and cleaning up parts.Cleaned up the charcoal canisterAnd then cleaned up the washer fluid res.Looks almost like brand new. Look at the white on that cap!
-
-
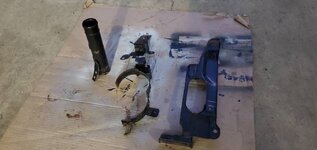
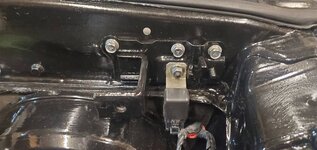
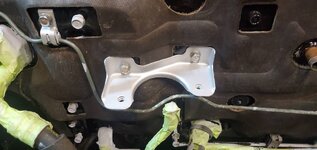
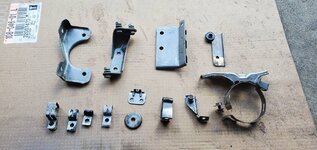
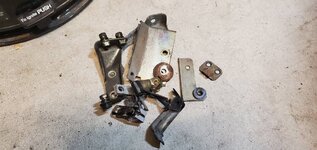
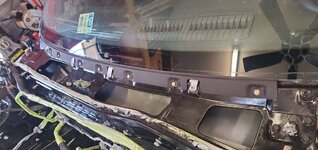
techboy replied to the thread Galant VR-4 Restoration #129/1458.Spent some time bolting on some of these brackets we cleaned up.Brake master bracket.Fuel filter bracketHorn BracketOverhead shot.
-
-
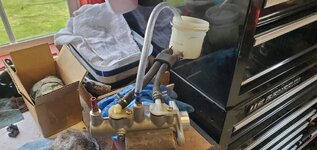
techboy replied to the thread Galant VR-4 Restoration #129/1458.Brake masters I always bleed in the vice ahead of time. Clutch masters I always mount to the firewall and hook up to the pedal and then bleed the cylinder itself before hooking up the line. It works nicely because someone can sit in the car and...
-
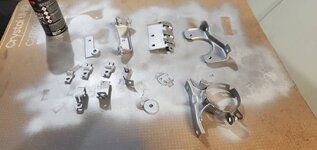
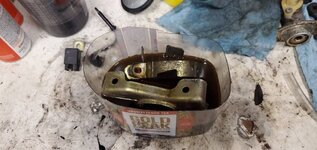
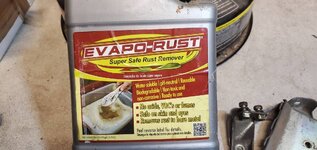
techboy replied to the thread Galant VR-4 Restoration #129/1458.Brackets ... Mitsu loves brackets. Tried to pull off as many brackets as possible and get them ready for refresh.I've used Evaoporust before in other restores ... I like the stuff. Strips all the junk off back down to the bare metal.We got...
-
-
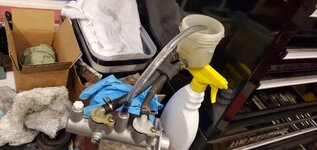
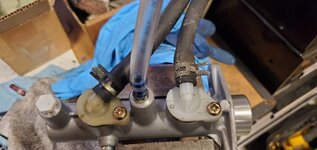
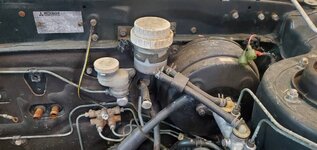
techboy replied to the thread Galant VR-4 Restoration #129/1458.Mounting up the brake master cylinder was a little bit more than plug and play. Turned out the fittings for the feed lines from the reservoir were not facing the correct directions, so we had to reuse some fittings from the old cylinder. You...
-
-
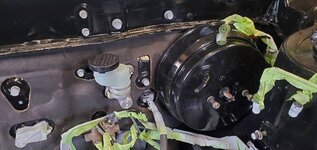
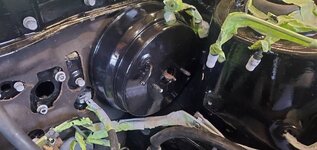
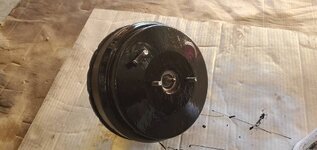
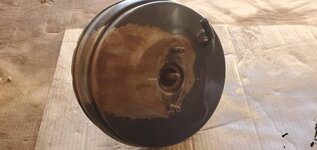
techboy replied to the thread Galant VR-4 Restoration #129/1458.Had off on Good Friday so my son headed out to the garage for several hours and knocked out some more things.Started cleaning up the brake booster by grinding off the ruined paint by leaking brake fluid over the years.Then hit it up with some...
-
-
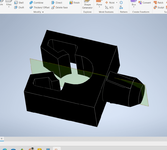
techboy replied to the thread GVR-4 Mitsu retainer / clip - available anywhere?.Well I drew this up today based on the broken one I had. Problem is I don't have the pin part on the backside, so I'm kinda guessing based on some online photos. I don't have an actual one to base measurements off of. I guess I'll try 3D...
-
-
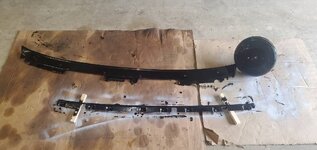
These should probably work out for you.https://machv.com/products/1g-dsm-rear-bump-stop
-
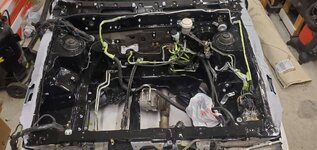
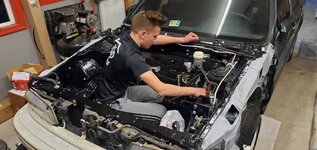
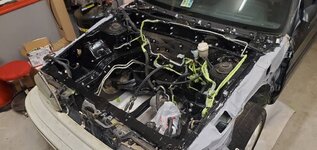
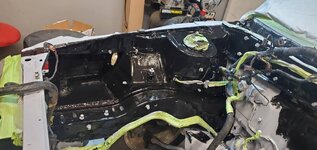
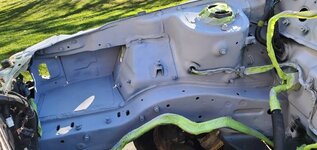
techboy replied to the thread Galant VR-4 Restoration #129/1458.We finished up the engine bay this weekend.Started down by this cross-member.And this is where we ended up...Very pleased with how this turned out ... time to start putting things back together and get an engine in this beast.
-
-
techboy replied to the thread Galant VR-4 Restoration #129/1458.Thanks! I documented a restoration of another car on different forum and it ended up being 34 pages! ROFL Hopefully when this is done it'll be a pretty thorough guide for anyone looking to restore a VR4.
-
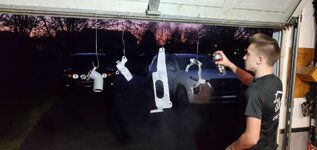
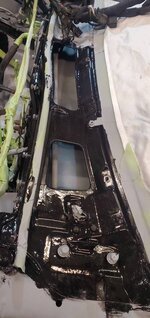
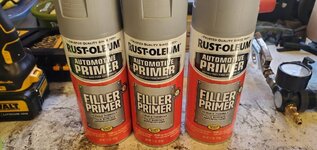
techboy replied to the thread Galant VR-4 Restoration #129/1458.Now that we got the car pushed back inside, it's time to get to work on the actual painting.This is a brush-on gloss enamel Rustoleum paint. It takes time, but the results are worth it.Got some more drivers side, firewall and crossmembers...
-
-
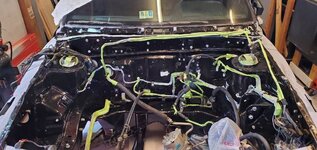
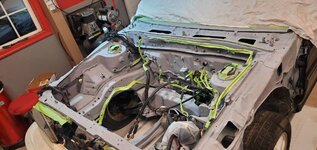
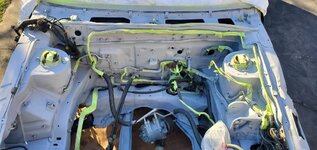
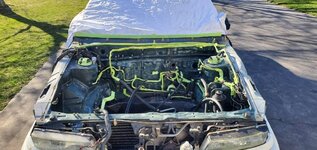
techboy replied to the thread Galant VR-4 Restoration #129/1458.Next day ... time to get some priming done.Covered the windshield before we got going.Firewall -Passenger side -More firewall -Drivers Side -Done ... including wiper cowl area and cross members.Really really pleased with how...
-
-
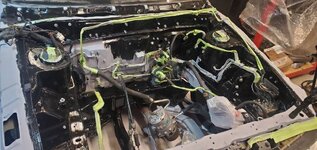
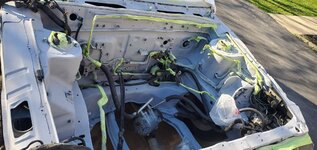
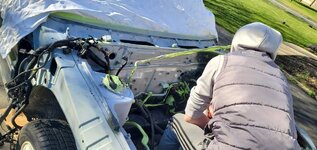
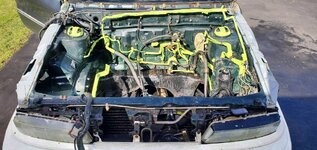
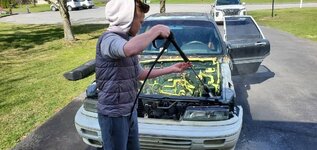
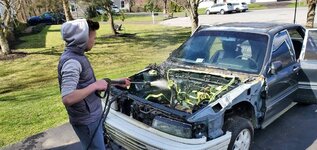
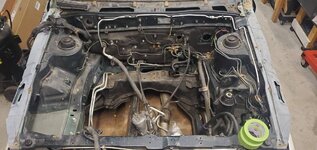
techboy replied to the thread Galant VR-4 Restoration #129/1458.Pushed the car outside. Now, that everything is taped off we wanted to give the engine bay a good power washing just to get any grime off before we start the painting process. To be honest, this engine bay is one of the least grimy ones I've...
-
-
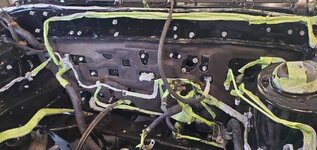
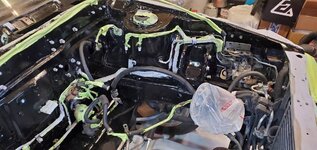
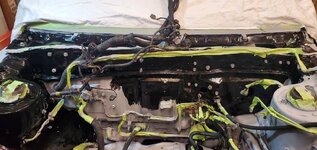
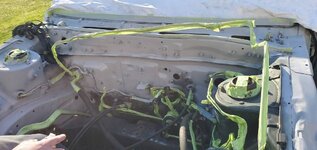
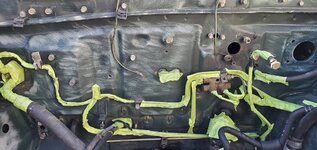
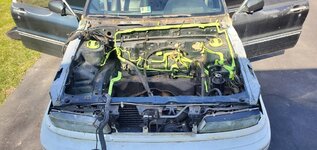
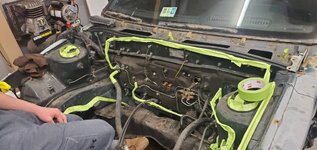
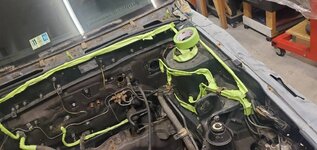
techboy replied to the thread Galant VR-4 Restoration #129/1458.More updates from this week. Grabbed some rolls of tape and started taping off all the lines in the engine bay.It took some work, but we were also able to remove the sound deadening on the firewall so can get a nice coat of paint behind it...
-
-
techboy replied to the thread 22/1000 galant saved from junkyard..I can't believe the seats are rotted like that. I don't think I've ever seen anything like in my life. I guess that what happens when a car is shut up outside for years at a time.If you can find one, there are a bunch of guys who swap EVO...
-
Got the car today to my house to start working on it. Started taking seats out of car. Passenger seat is rotted badly. Had to heat all the bolts with my mini inductor. To get them to come free. Rear back seat kept falling apart when I touched it...
-
techboy replied to the thread Galant VR-4 Restoration #129/1458.It's coming along, that's for sure.
-
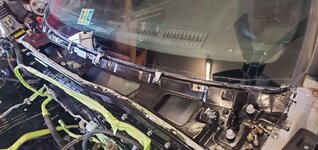
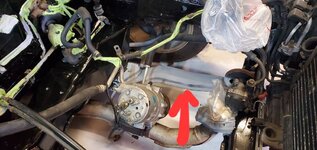
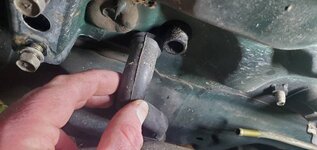
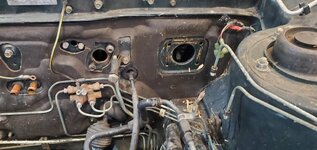
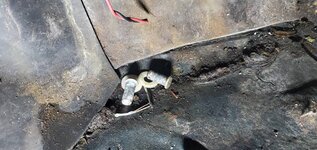
Am I correct in assuming this is a heater core/AC drain line? It was disconnected and just hanging here.For context, this at the bottom of the firewall, passenger side, right next to where the charcoal canister sits.
-
-
techboy replied to the thread GVR-4 Mitsu retainer / clip - available anywhere?.I actually have a bunch of those ^^^ and thought of that. I might go that route. I'll try drawing and 3D printing them first, if that doesn't work this will be my backup.
-
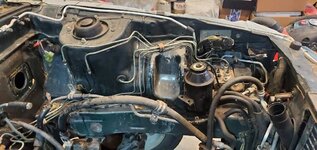
techboy replied to the thread Galant VR-4 Restoration #129/1458.Picking up where we left off this weekend we started by removing the clutch and brake master cylinders and booster.Pulling the cotter pins on these inside the car wasn't as bad as I thought it might be.Takes a little bit of patience to get...
-
- Loading…
- Loading…
- Loading…